Difference between revisions of "Creating a QGIS Plugin"
MichaelWray (talk | contribs) |
MichaelWray (talk | contribs) |
||
| Line 52: | Line 52: | ||
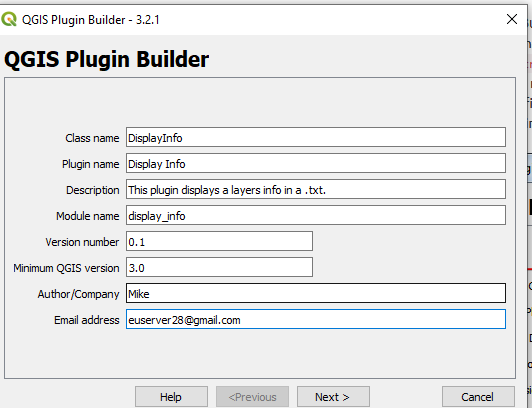
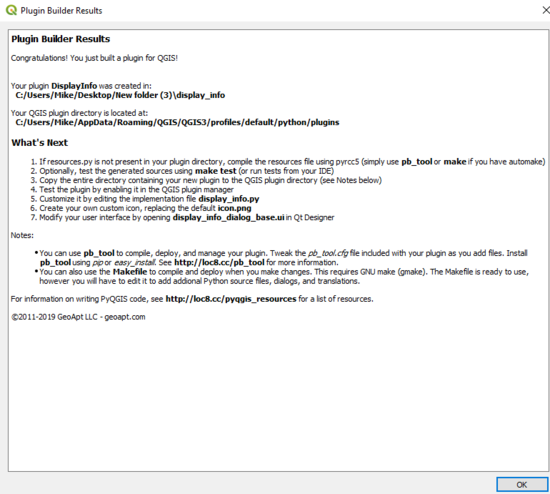
Now that all the installs have been completed, the basic plugin framework can be created. Open 'Plugin Builder' from the toolbar,'''Plugins > Plugin Builder > Plugin Builder''' and go through the dialog forms, as seen in '''Figures 2-3'''. |
Now that all the installs have been completed, the basic plugin framework can be created. Open 'Plugin Builder' from the toolbar,'''Plugins > Plugin Builder > Plugin Builder''' and go through the dialog forms, as seen in '''Figures 2-3'''. |
||
| − | [[File:MW2.png| |
+ | [[File:MW2.png|550px]] |
'''Figure 2:''' Plugin builder input forms. |
'''Figure 2:''' Plugin builder input forms. |
||
| − | [[File:MW3.png| |
+ | [[File:MW3.png|550px]] |
'''Figure 3:''' Plugin builder final dialog prompt. |
'''Figure 3:''' Plugin builder final dialog prompt. |
||
Revision as of 18:20, 4 December 2019
Contents
Disclaimer
This tutorial was created for Microsoft Windows platforms. It assumes a basic knowledge of GIS Environments and Python syntax.
Introduction
This tutorial contains instructions to aid you in the creation of your own QGIS plugins.
Data
As most of this tutorial is software based, the only data required is a shapefile layer for testing purposes at the end. One can find the shapefile used for testing here.
Be sure to keep all the downloaded files together,in the same project folder. Keep the folder pathway/filenames simple and clear.
• Ex.C:\Users\Larry\QGIS\Projects
Methods
Software Installation
Installing QGIS
The latest version of QGIS is good for this tutorial, it can either be the standalone QGIS version or OSGeo4W installer (both come equipped with some form of Qt creator). For QGIS installation refer to here.
Installing VS Code
Any kind of coding requires a text editor or IDE. If you have a preference then use it, but in this tutorial we will be doing things in VS Code. See here for installation.
Installing QGIS Plugins
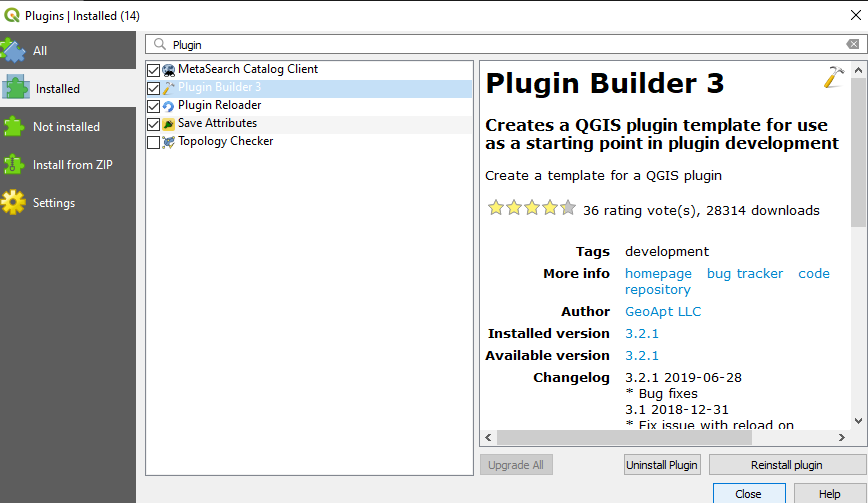
Once QGIS is installed and open, go to the Plugins > Manage and Install Plugins menu and install: Plugin Reloader and Plugin Builder.
Plugin Builder: A useful plugin that creates all the files and boilerplate code required to get going with a plugin.
Plugin Reloader: A useful plugin that aids in testing and changing plugin code, without having to restart QGIS every time.
Python Bindings
The plugin needs to be able to access the relevant Python bindings from the plugin folder, so in order to do this the path to the QGIS install must be indicated.
To do this a 'Windows Batch File'(.bat) will need to be created with the following text (this can be done with notepad and the "save as" function):
@echo off
call "C:\OSGeo4W64\bin\o4w_env.bat"
call "C:\OSGeo4W64\bin\qt5_env.bat"
call "C:\OSGeo4W64\bin\py3_env.bat"

@echo on
pyrcc5 -o resources.py resources.qrc
Save this file to your project folder and name it compile.bat, if you installed QGIS to a different path, replace C:\OSGeo4W64\bin\ with the location of your install.
Building the Basics
Now that all the installs have been completed, the basic plugin framework can be created. Open 'Plugin Builder' from the toolbar,Plugins > Plugin Builder > Plugin Builder and go through the dialog forms, as seen in Figures 2-3.


