Difference between revisions of "Creating a Geo Story using GeoNode and GeoStory"
Nata Culhane (talk | contribs) |
Nata Culhane (talk | contribs) m |
||
| Line 16: | Line 16: | ||
To start, click on the 'App' dropdown menu, select 'create new app'. This is what GeoNode calls their GeoStories. |
To start, click on the 'App' dropdown menu, select 'create new app'. This is what GeoNode calls their GeoStories. |
||
<br> |
<br> |
||
| − | [[File:Creating a new app.jpg|frame| |
+ | [[File:Creating a new app.jpg|frame|centre|Creating a new app]] |
<br> |
<br> |
||
An app will automatically open, with a title section created. Immediately save your project. GeoStory does not auto-save, and will sometimes reload randomly, so remembering to save frequently is essential. |
An app will automatically open, with a title section created. Immediately save your project. GeoStory does not auto-save, and will sometimes reload randomly, so remembering to save frequently is essential. |
||
Revision as of 18:15, 27 November 2023
Contents
Introduction
This tutorial introduces GeoStory, a GeoNode product, and goes through all of the basic functionalities of the product to create a usable, sharable web-based GeoStory. This includes installation and startup, creating base maps, addings media, immersive, and geocarousel sections, and sharing. For a more in-depth introduction to GeoNode, see [insert link to other tutorial].
Installation and Setup
For the purposes of this tutorial, the Oracle VM Virtual Machine box, downloaded via LINK through the GEOM 4008 course was used, as it is already all set up with GeoNode. If you are not registered in this course and would like to follow along with Oracle, you can download it using this LINK. Alternatively, to download and install GeoNode on its own, use this LINK.
Once the machine has been powered up, go to other > GeoNode, and start it up. You will then need to create an account (top right). You are now all set up to start the tutorial!
Tutorial
Creating an App and title page
To start, click on the 'App' dropdown menu, select 'create new app'. This is what GeoNode calls their GeoStories.
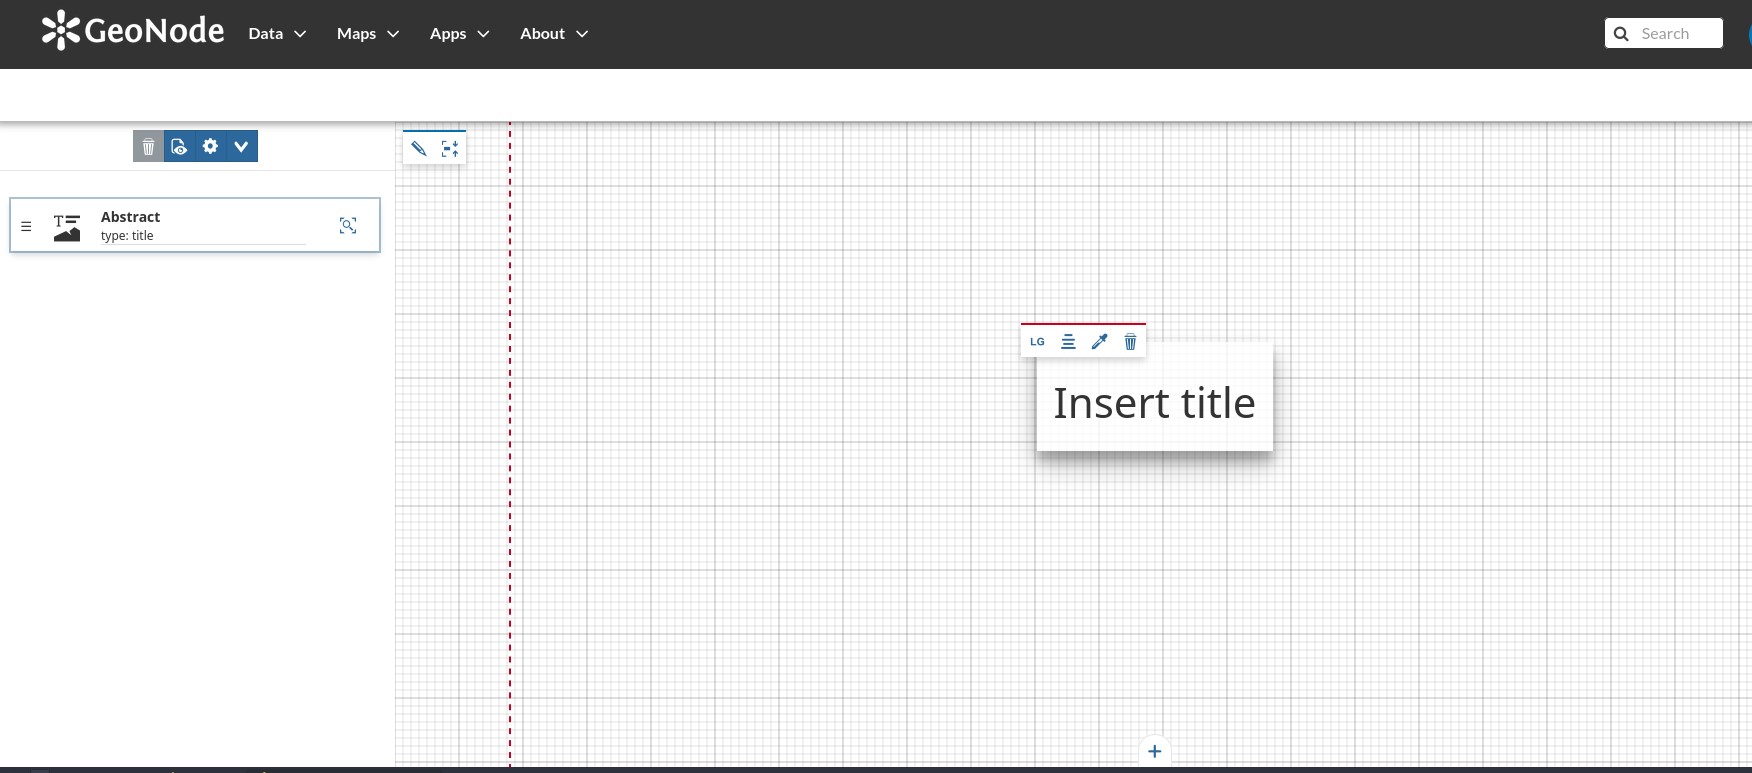
An app will automatically open, with a title section created. Immediately save your project. GeoStory does not auto-save, and will sometimes reload randomly, so remembering to save frequently is essential.
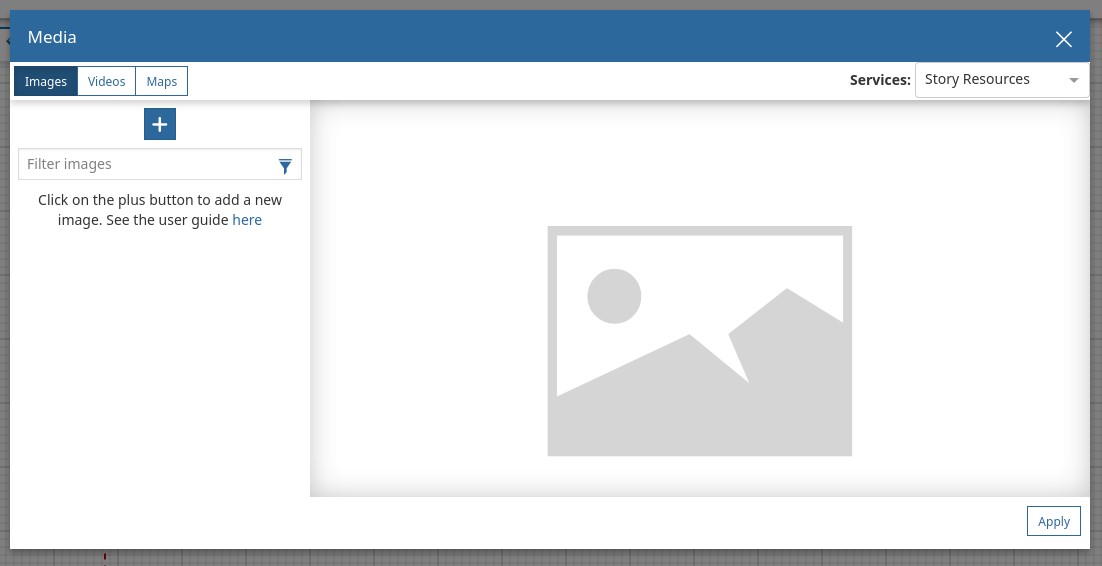
You can customize the background of the title slide to have an image by clicking on the pencil (edit media element) icon, clicking image, and then pasting the URL to an appropriate image. Note that to paste in the VM Box you need to have copied from a browser also within the box. You can use the same workflow to insert a video as well, by selecting video instead of image.
Adding an immersive section
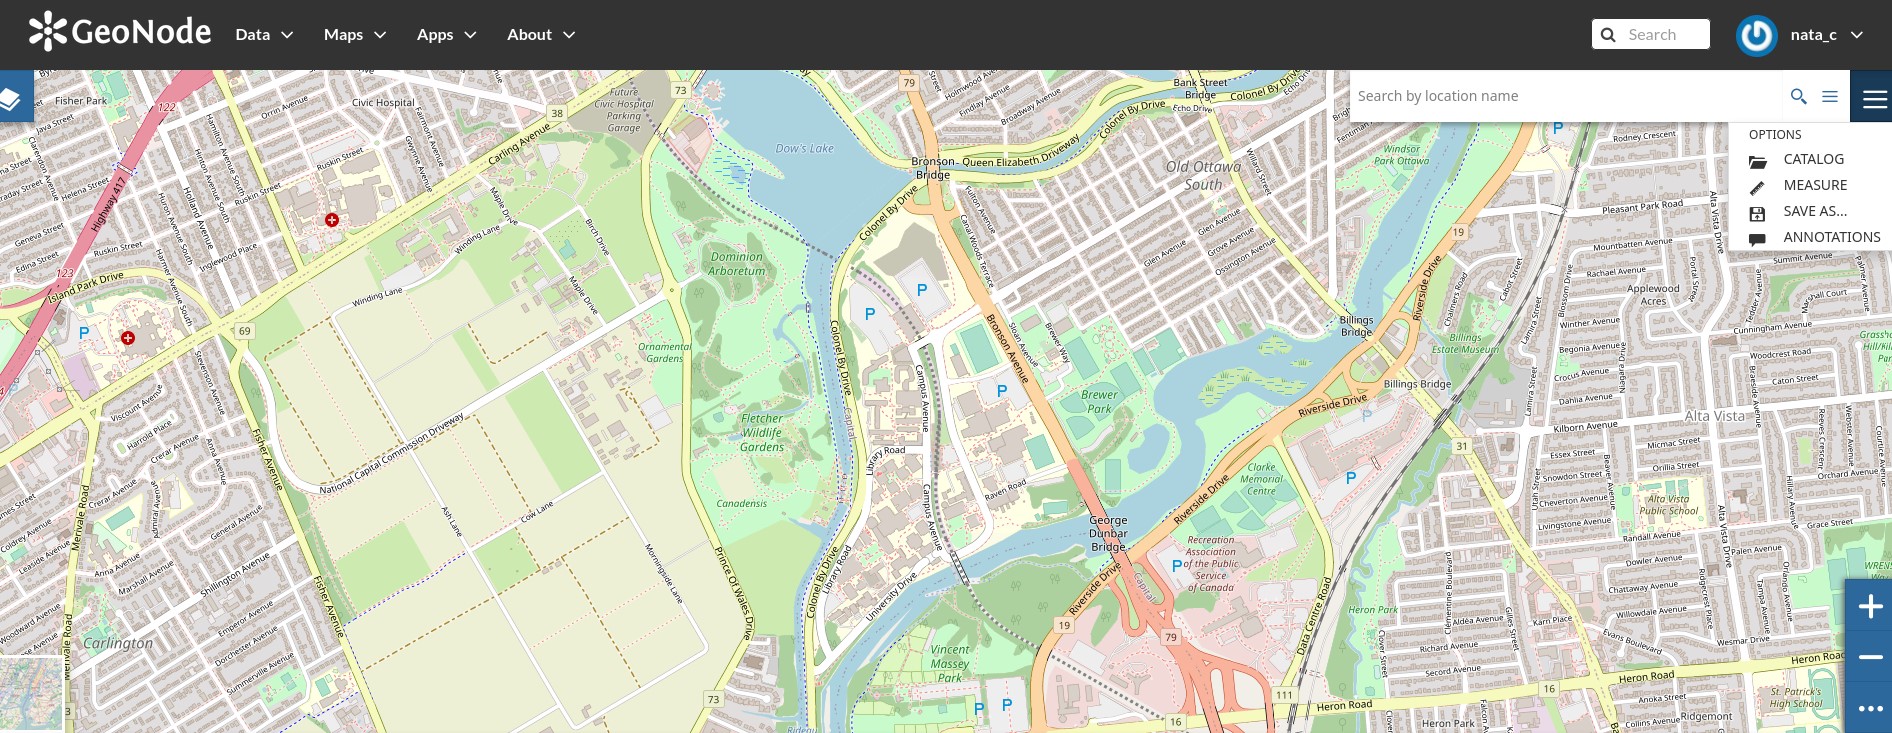
To add a map to your app, you will actually need to exit the app to create one from scratch. Save your project, then go to the ribbon > maps > create map. You can then zoom and pan the world map to get to an area of interest, ensuring the entire area needed is within the frame. Then you can to go the top right and click save as. Name your map something descriptive.
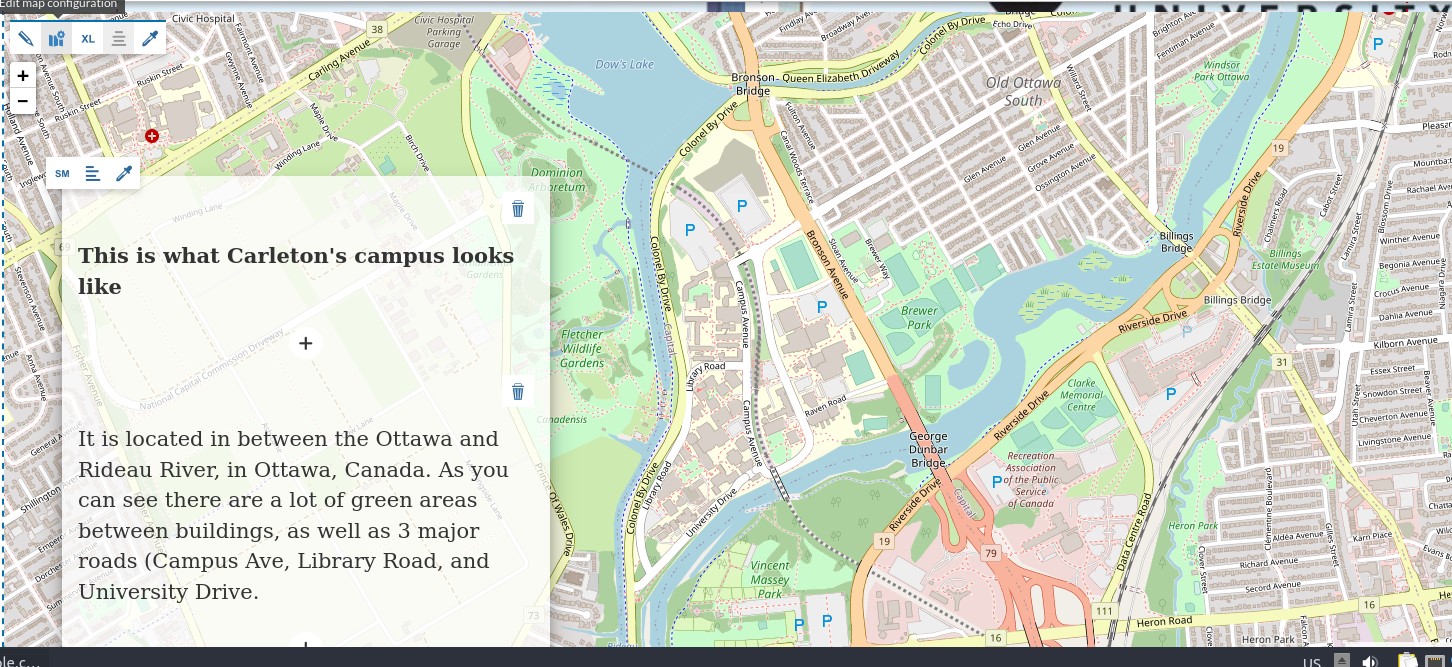
Now that you have a map created, you can go back to apps, find your app, click on it, and select edit to return to the GeoStory editor. Pan back down to the immersive section you were working on. You are now able to add a map to the map by clicking on the pencil (edit media elements) > maps. Note that your map does not appear. Change the search section in the top right of the panel to GeoNode (not GeoStory, which only shows maps currently in the app). It should now appear and you can select it and hit apply.
Now that the map is inserted, you can pan it, zoom it, add a title (play with fonts, sizes, colours, backgrounds, etc), change the configuration and size, etc.
Adding a Geocarousel section
Geocarousels are the most well-known types of GeoStories. They are essentially interactive map slideshows. To add one, click the plus sign at the bottom of the app, select geocarousel. It know appears (empty), and prompts you to add a background map. Use the same one as previously, or go back to maps to create a new basemap. You can zoom or pan as needed.
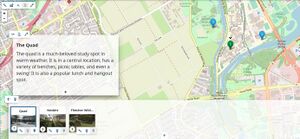
The bottom panel (empty) shows the individual carousel items. Click on the map marker icon (bottom right) to pick the location of the first icon. You can now select where on the map you want it to be. Then, click the X to get back to the map, and edit the text frame to match that marker. Note that the text only corresponds to the marker currently selected (active). You can also click the marker to add a thumbnail and edit the title. Add as many markers as you like, and be sure to save often.
Adding a web page section
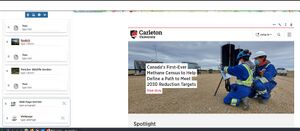
You can also select add a web page section, and have an up-to-date live view of any webpage by simply adding in the URL to it.
Adding a media section
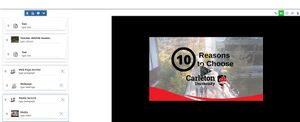
You can also add a media section with another map, image or video, and complementary text. Here, a video was added by pasting the URL.
Viewing and sharing the final GeoStory
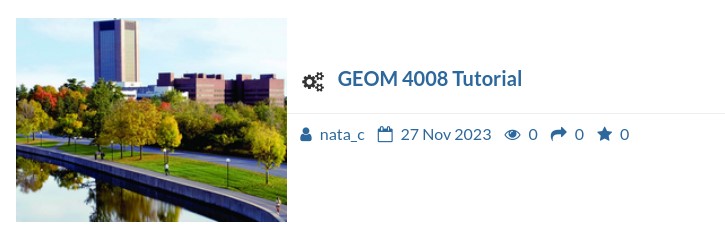
Once you are happy with your GeoStory, save it, then exit back to apps > view apps. It should appear and you can edit the title and upload a thumbnail.
You can then share it how you choose. BETTER INSTRUCTIONS.
The video below shows a scroll through the created basic GeoStory.
ADD VIDEO FILE
