Demonstrating tools in SAGA GIS to analyze Burned areas from Forest Fires
Contents
Introduction
In recent years forest fires have increased globally at a rapid rate destroying many hectares of vegetation, ecosystems and landscapes (Parajuli, 2019). Being able to analyse forest fires in multiple open source applications like SAGA GIS will benefit anyone looking to study the results of forest fires. Being able to manipulate raster files in many open source software will allow you as a user to to be able to pick and choose what software is better suited for your needs.
Downloading Saga
This tutorial uses the newest version of SAGA GIS, Version 8.4.1 64bit which can be downloaded here: https://sourceforge.net/projects/saga-gis/files/latest/download
Downloading Imagery from USGS
The first thing we will do to start off the tutorial will be finding data to run our analysis on. This tutorials imagery is found through USGS Earth Explorer. To actually download the data you have to make an account which is sound on the top right hand corner of the page, click login and it will bring you to a sign in page. At the Bottom it will ask if you want to Create New Account? This only requires a Username and Password of your choice. Once completed your able to start downloading imagery.
Selecting an Area of Interest
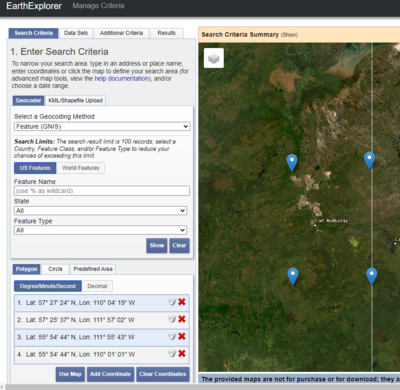
When selecting an area of interest in Earth Explorer it gives you many options of how to find the imagery you want. Your able to search for a selected name, search through states or feature types. In this tutorial we will be creating a polygon to choose our selected area.
Underneath the Geocode section you will see the Polygon tab. Select the tab and then go to your area of interest. Ours is Fort McMurry, you'll then left click to create the four corners of the polygon. The coordinates do not have to match but roughly in the same area.
Choosing a Date Range
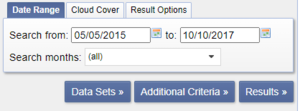
Underneath the Polygon tab you'll see a tab for Date Range. We will be looking at before and after the Fort McMurray Fire so we will need dates before and after the fire started and finished. The dates I selected were 05/05/2015 to 10/10/17.
Cloud Cover
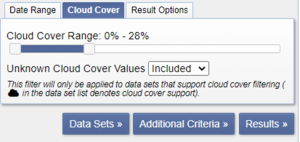
Beside the Date Range tab is the Cloud Cover tab. This tab allows you to reduce the amount of imagery that is unusable due to cloud cover. 28% was the selected out of cloud cover allowed. After selecting the amount you can click on the Data Sets button to bring you to your search results.
Imagery Selection After Fire
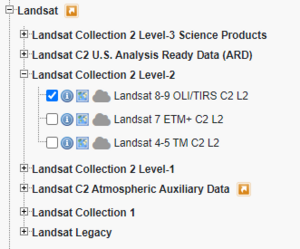
Before getting to results page you'll have to select the data sets you want. The files we want are found in the Landsat > Landsat Collection 2 Level-1 > Landsat 8-9 OLI/TIRS C2 L2. Once selected, click results.
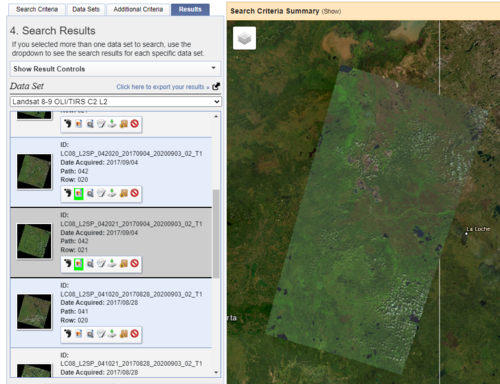
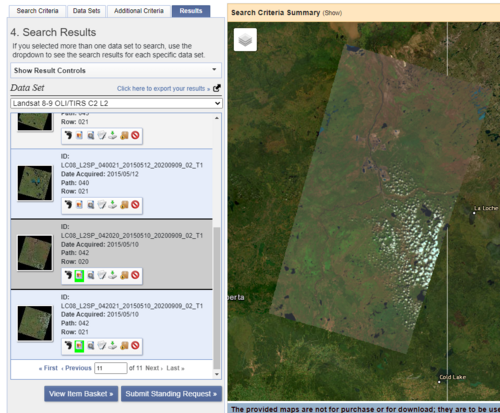
When choosing imagery we want the clearest image we can find. Too see what each image looks like select the button you can see highlighted in the image below. As seen in the image below, the dates 2017/09/04 with path 42 and rows 020 and 021 were very clear so they were chosen for the analysis.
Imagery Selection Before Fire
When selecting the imagery for before the fire, 2015/05/10 had the clearest imagery that matched after the fires path and row.
Downloading the Imagery
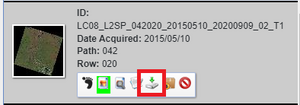
To download your selected imagery, on each image you will have to select the download button which can be seen highlighted in red.
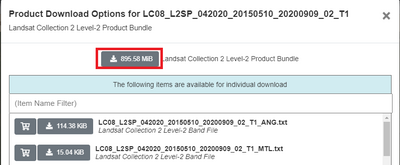
Then a download options window will open up and you will select Product Options. Then the image below will appear and you will be downloading all files, so selecting the entire bundle, as seen in red.
Converting Files
Some computers may have a hard time opening a Tar file. If you are unable to open the downloaded file, you may need to download a Tar file opener. For this tutorial we be using Winzip as the extension because windows does not know how to open Tar files. To download click this link:
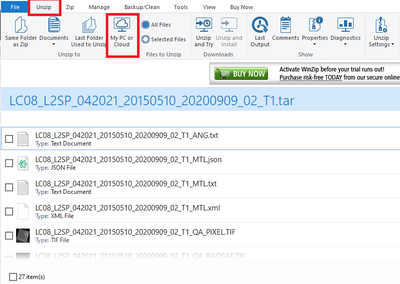
Once the application opens - find your tar files in your files and then drag them into the window pane. Once in WINZIP select the unzip tab shown below and then click My PC or Cloud to unzip the files to a specified location on your PC. Then we you go back into your files, the folders will be accessible.
Downloading Files into SAGA
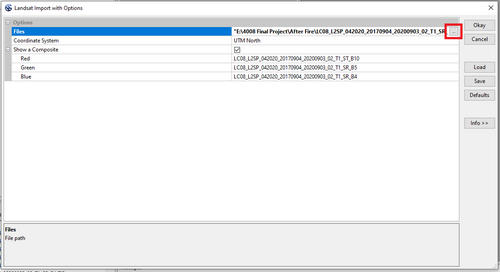
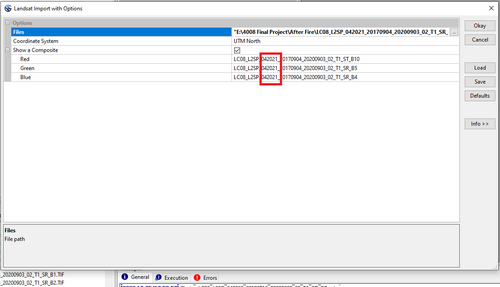
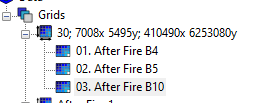
Geoprocessing > Imagery > Landsat > Landsat Import with Options
Mosaicking Two Rasters Together
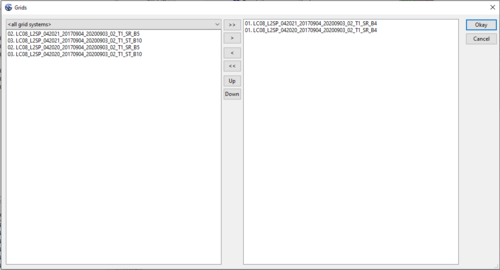
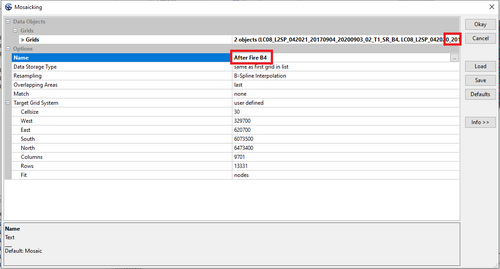
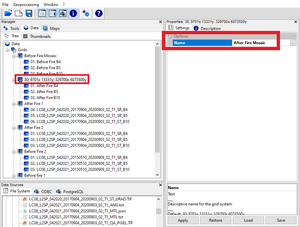
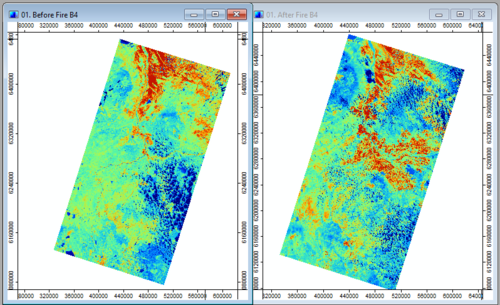
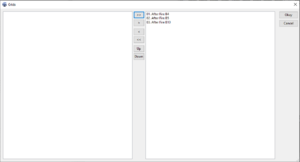
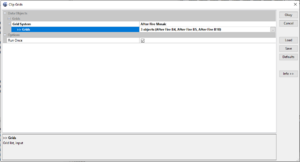
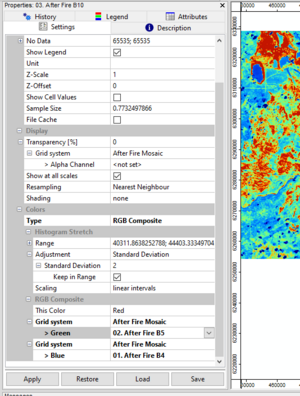
Mosaic two rasters together for both before and after fire.
Geoprocessing > Grid > Grid Systems > Mosaicking
Fire Extent
Difference of Before and After Fire
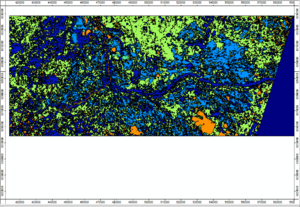
Geoprocessing > Grid > Calculus > Grid Difference
Object Based Image Segmentation
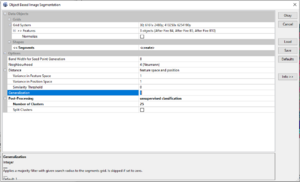
Geoprocessing > Imagery > Segmentation > OBIA > Object Based Image Segmentation
